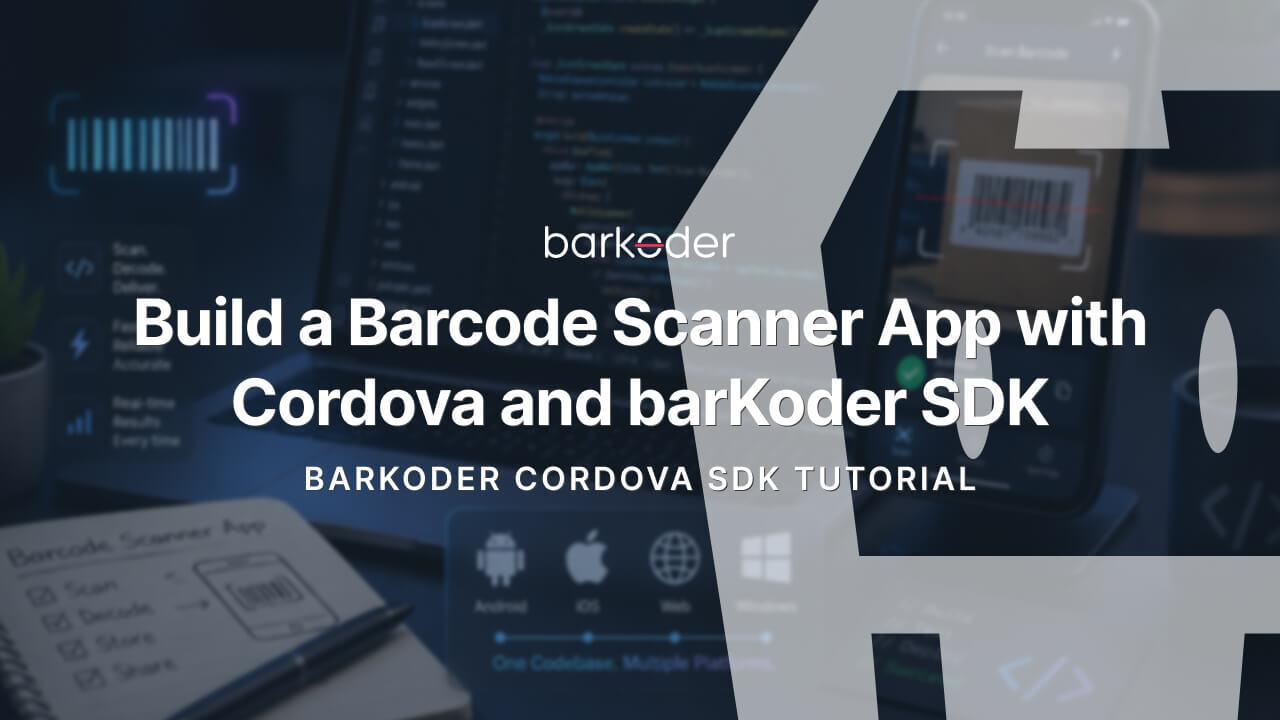
Building a Barcode Scanner App with Cordova and the barKoder SDK
This guide walks through the barkoder_app_cordova project: a Cordova + React demo app built with the official barkoder-cordova plugin.
The goal was not just to open the camera and decode a barcode. We wanted a practical demo app that shows how to build a real Cordova scanner experience with:
- live camera scanning
- gallery image scanning
- multiple scanning presets
- runtime scanner controls
- per-mode settings
- scan history
- result review screens
This is the Cordova version of the app, so the integration details are different from the Capacitor build even though the product flow is similar.
Why Cordova + barKoder
Cordova is still a reasonable choice when you want a web UI but need access to mature native plugins. In this app, Cordova gives us a simple bridge to:
- the barKoder native scanner SDK
- the device photo library
- device information
The barKoder SDK is the core of the app. It gives us support for 1D and 2D barcode formats plus specialized modes such as VIN, DPM, DotCode, MRZ, MultiScan, and AR mode.
What the app includes
The app keeps the same high-level shape as the other Barkoder demo builds:
- Home
- Scanner
- Details
- History
- About
From the home screen, users can launch:
- 1D
- 2D
- Continuous
- MultiScan
- VIN
- DPM
- DeBlur
- DotCode
- AR Mode
- MRZ
- Gallery Scan
Project setup
Install dependencies first:
npm installThen add your license key to .env:
VITE_BARKODER_LICENSE_KEY=YOUR_BARKODER_LICENSE_KEYThis value is read at build time and used during native registration in src/services/barkoderService.ts
Build the web bundle:
npm run buildIf the platform is not added yet, add it with Cordova:
npm run cordova:add:android
npm run cordova:add:ios
Then prepare or build the native project:
npm run cordova:prepare
npm run cordova:build:android.env or web assets, you need to rebuild and run cordova prepare or a Cordova build command so the updated files are copied into www and the native platform folders.The plugin stack
This project uses three Cordova plugins:
- barkoder-cordova
- cordova-plugin-camera
- cordova-plugin-device
The barKoder plugin handles scanning and scanner configuration. The Camera plugin is used for gallery image selection, and the Device plugin is used on the About screen to show a device identifier.
The app id is defined in config.xml:
<widget id="com.barkoder.demo" version="1.0.0">This matters because your barKoder license key must be valid for the same bundle id and it's usually tied to the app_id of the app.
How scanner startup works in Cordova
The Cordova integration is centered around src/services/barkoderService.ts.
Unlike a pure web scanner, the app waits for Cordova readiness and then initializes the native preview inside the visible scanner container.
The service:
-
waits for
deviceready - registers the SDK with the license key
- calculates the visible bounds of the scanner container
-
calls
Barkoder.initialize(...) -
subscribes to
barkoderResultEventand close events
The key part looks like this:
await Barkoder.registerWithLicenseKey({ licenseKey });

await Barkoder.initialize({
  width: Math.max(1, Math.round(width)),
  height: Math.max(1, Math.round(height)),
  x: Math.max(0, Math.round(x)),
  y: Math.max(0, Math.round(y)),
});
That makes the native barKoder preview line up with the React layout rendered by Cordova.
A thin TypeScript wrapper over the Cordova plugin
The project does not call the global plugin object directly throughout the app. Instead, src/plugins/barkoder.ts wraps window.Barkoder in a typed API.
This wrapper gives the rest of the app a cleaner interface for:
- initialize
- registerWithLicenseKey
- startScanning
- pauseScanning
- stopScanning
- scanImage
- runtime settings such as flash, zoom, ROI, resolution, AR options, and barcode-type toggles
It also normalizes result payloads into a BarkoderResult class so UI code does not have to deal with raw plugin responses.
App architecture
The project is split into a few clear layers:
-
src/screensfor page-level UI -
src/componentsfor reusable scanner UI pieces -
src/hooksfor scanner behavior and settings logic -
src/servicesfor Barkoder setup, history, settings, gallery picking, and device info -
src/utilsfor barcode mappings, gallery result parsing, and mode defaults
The main flow lives in:
-
src/screens/ScannerScreen.tsx -
src/hooks/useScannerLogic.ts
ScannerScreen.tsx owns the scanner page UI, overlays, result sheet, and settings panel. useScannerLogic.ts owns the actual scanning lifecycle.
Mode-based scanner behavior
One of the more useful parts of this app is that it does not treat every scan the same way.
Modes are defined in src/constants/constants.ts, and each mode gets its own defaults in src/utils/scannerConfig.ts. That includes:
- which barcode types are enabled
- decoding speed
- resolution
- ROI visibility
- continuous scanning behavior
- AR options
For example, VIN mode is narrowed down and tuned more aggressively:
await Barkoder.setEnableVINRestrictions({ value: true });
await Barkoder.setRegionOfInterest({ left: 0, top: 35, width: 100, height: 30 });
await Barkoder.setRegionOfInterestVisible({ value: true });
DPM mode enables Data Matrix DPM handling and uses a tighter ROI:
await Barkoder.setBarcodeTypeEnabled({ type: BarcodeType.datamatrix, enabled: true });
await Barkoder.setDatamatrixDpmModeEnabled({ enabled: true });
await Barkoder.setRegionOfInterest({ left: 40, top: 40, width: 20, height: 10 });
This is a good pattern for Cordova apps: keep the scanner screen generic, and move the specialized behavior into mode presets and hook logic.
Handling scan results
Results are processed through a single event pipeline in useScannerLogic.ts.
When a result arrives, the app:
- pauses scanning in non-continuous modes
- converts raw decoder results into app-friendly items
- stores the result in history
- updates the bottom result sheet
- keeps an image snapshot when needed
The pause behavior is intentional. For one-shot scan flows, it gives the user time to inspect the result instead of immediately continuing the camera session.
Gallery image scanning in Cordova
Gallery scanning is one of the biggest implementation differences compared with the Capacitor app.
In this Cordova build, src/services/galleryPicker.ts uses cordova-plugin-camera with sourceType set to the photo library and returns base64 image data:
camera.getPicture(success, error, {
  destinationType: window.Camera?.DestinationType?.DATA_URL ?? 0,
  sourceType: window.Camera?.PictureSourceType?.PHOTOLIBRARY ?? 0,
  mediaType: window.Camera?.MediaType?.PICTURE ?? 0,
});
After that, the app initializes Barkoder in an image-scan context and calls:
await Barkoder.scanImage({ base64: base64Image });The gallery flow also adds:
- cancel handling
- an empty-result fallback timer
- image-based preview generation for result cards
That makes gallery scanning behave like a real feature instead of a one-off demo action.
Runtime controls and settings
The scanner screen supports live controls for:
- flash
- zoom
- front/back camera
- decoding speed
- resolution
- ROI visibility
- beep and vibration
- continuous threshold
- barcode type toggles
- AR-specific settings
Those values are rendered through src/components/UnifiedSettings.tsx and applied through src/hooks/useBarkoderSettings.ts.
Settings are persisted per mode through localStorage in src/services/SettingsService.ts, so the app remembers different scanner setups for different use cases.
History and result review
Every successful scan is stored through src/services/HistoryService.ts.
The history service deduplicates by text + type, updates the timestamp, and increments a count for repeated scans. That keeps the history list useful without filling it with identical entries.
The scanner UI also includes:
- copy to clipboard
-
CSV export through
mailto: - a details screen
- a resume-scanning flow after reviewing results
For a Cordova demo app, this is important because it shows what happens after decoding, not just the decode itself.
Native vs web behavior
This app is intended for iOS and Android Cordova builds.
If you open it in a regular browser, the UI still renders, but the native scanner preview is not available. The app detects that with:
const isNativePlatform = typeof window !== 'undefined' && !!window.cordova;Performance notes
A few implementation choices help this app behave better on real devices:
- ROI is used in specialized modes such as VIN, DPM, DotCode, and MRZ
- MultiScan enables result caching for better repeated detection behavior
-
gallery mode uses
rigorousdecoding by default - the app initializes the native preview with measured element bounds instead of hardcoded values
If you turn this into a production app, those are the first areas worth tuning for your own scan environment.
Conclusion
barkoder_app_cordova is more than a minimal plugin sample. It shows how to structure a Cordova barcode app around a native scanner lifecycle while keeping the UI in React.
The most useful patterns in this implementation are:
- wrapping the Cordova plugin in typed TypeScript helpers
- separating scanner lifecycle logic from screen UI
- using per-mode presets instead of one global scanner configuration
- treating gallery scanning, history, and result handling as first-class features
If you are building a Cordova app and need enterprise-grade barcode scanning, this project is a practical starting point for integrating the barKoder SDK in a way that is close to a real product.
Resources
- barKoder: https://barkoder.com/
- Trial license: https://barkoder.com/trial
- Cordova docs: https://barkoder.com/docs/v1/cordova/cordova-installation
- Cordova API reference: https://barkoder.com/docs/v1/cordova/cordova-sdk-api-reference
- Cordova examples: https://barkoder.com/docs/v1/cordova/cordova-examples